|
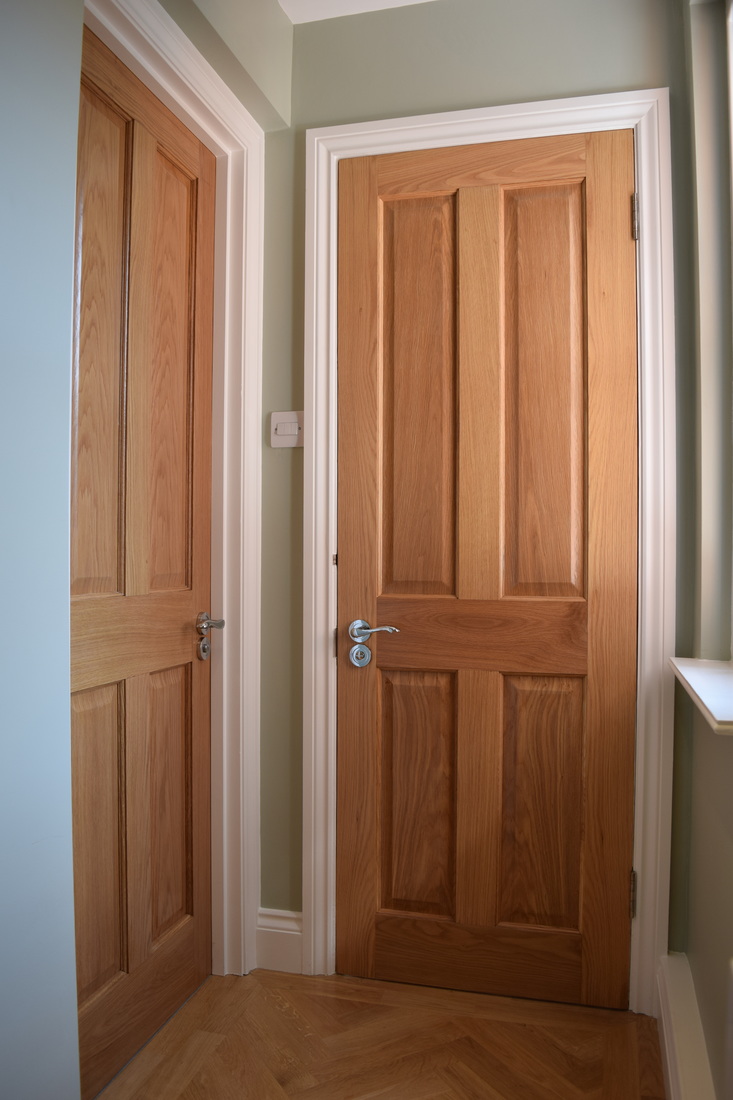
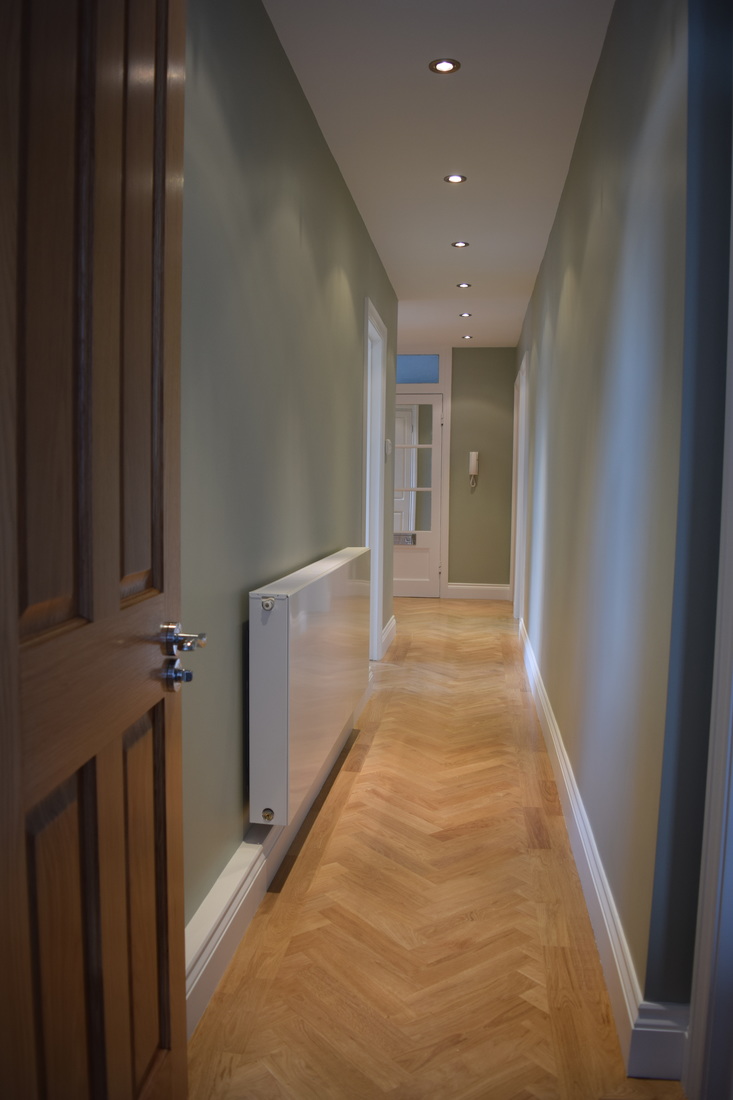
Farrow & Ball 'Mizzle Modern Emulsion' in the hallway provides the perfect hue that is calming and inviting. The complementary effect highlights the warm oak flooring and enhances the natural quality of the wood.
0 Comments
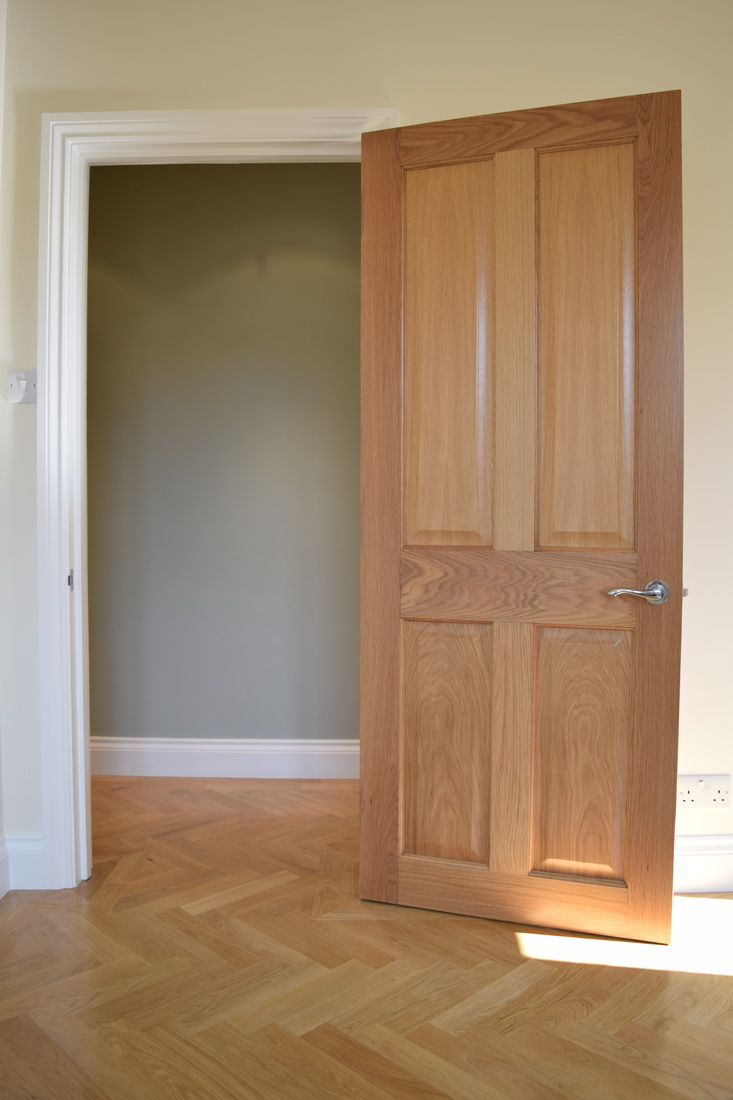
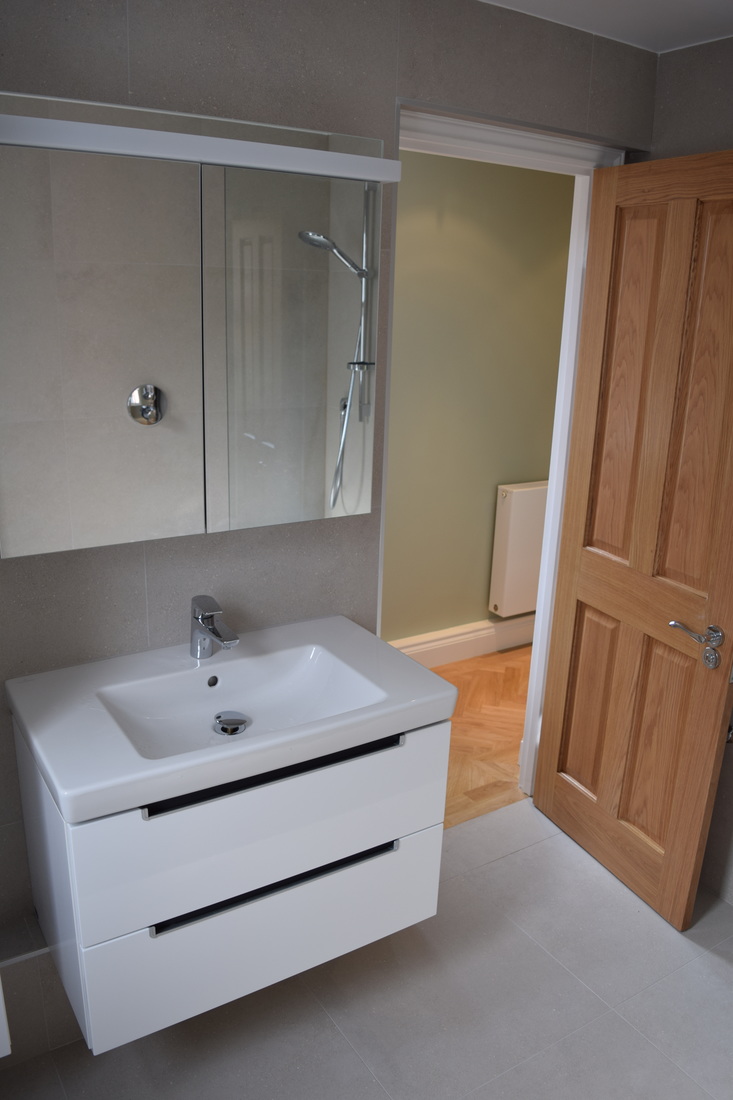
The subtle white-tinted varnish coat on the oak doors to calm down the grain and help unify with the new floor...just another tricky and creative situation in the day of ddecoration 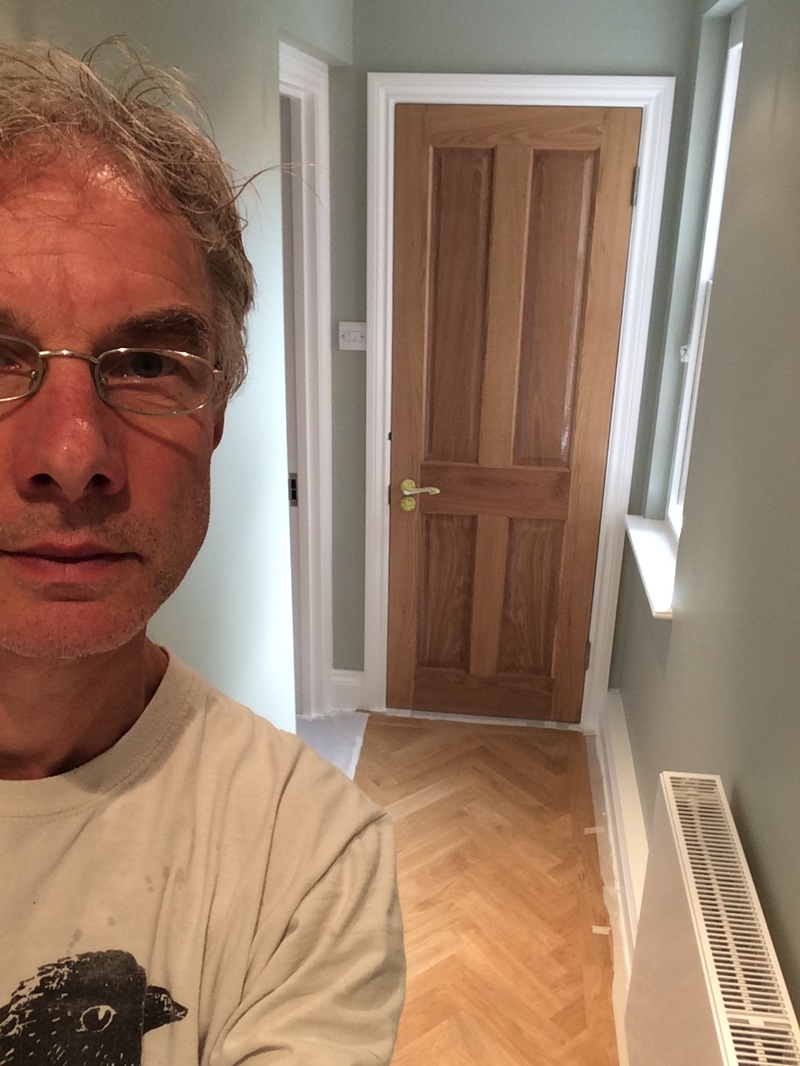 To varnish is to encapsulate, to preserve the surface in its final state. Last week I was presented with very weathered garden furniture in great need of restoration. Beneath the thick, grey surface I realised, lay a pristine teak waiting to be revealed. Like an archaeologist, I sanded back in time until more and more of the youthful golden tan came through. Three coats of Ronseal Yacht Varnish eventually hardened - like amber over the surface, preserving the golden glow from the caustic effects of weather. There is something noble and ancient in varnishing. Something that painting doesn't offer. I am reminded of the Venetian gondolas and the many layers of skilled brushwork that go into their glassy surface. Varnishing dictates a certain meditative approach. As you work up the layers you are called to work slower. Each layer needs more time than the last. 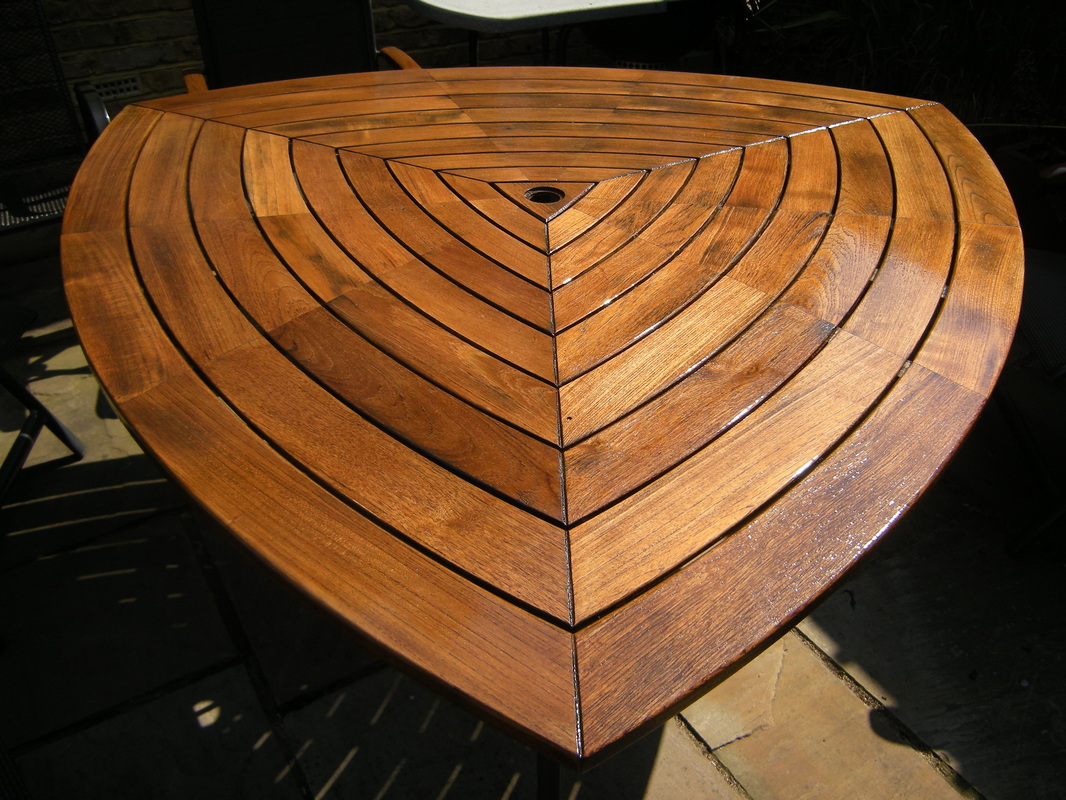
I was recently comissioned to restore a Victorian fireplace. The white Carrera marble was layered in decades of paint and part of the left-hand finial was missing. My approach was to remove the paint using Bartoline TX10, one of the eco friendlier paint and varnish removers. I exposed the right-hand finial first down to the marble, enabling me to take an impression which would then create the cast for the missing part. I was persuaded to pay for a relatively new product -Siligum by Gideo- to make the mould. Rather expensive but well worth it, it comes in two parts which are squashed together. This rescued me from the dilemma of how to make a mould from a vertical object. When combined, you have around five minutes to push the material into place. After ten minutes you peel away the silicone impression and it's ready to take the casting material. While this was still in place and setting I continued with the rest of the paint removal -which fell in layers like curtains of garish colour reflecting changing tastes back through time. This excersise continued until the whole fireplace revealed the beauty of the original marble. Part archaeological, part forensic, every groove and valley in the mouldings had to be cleared to such an extent that I felt I was re-enacting the original carving process. Gideo Resin Plaster was used to cast the mould as this is rock-hard and would come close to the marble in terms of durability. Once the mould had been cast the trick was to replicate the tones and lustre of real marble. Having made a flat test piece of plaster at the time of casting I used this to test colour on as it would reflect the nature of the mould. Paint is drawn very rapidly into plaster and it is important to wet it before applying any colour. This ensures a more even absorption into the material. This is actually a recreation of the 'secco' version of fresco painting technique where dry plaster is the base instead of fresh plaster. It was important to use very diluted paint. You could paint the plaster a similar colour as the marble, but you would lose the surface texture. The idea is to attempt to recreate the lustre, the transparency of marble. Actually impossible to do because it is in the nature of marble that light shines through it - it is translucent and plaster is not. However, with the help of some special paint (also expensive but worth it) I was able at least, to abtain something close to the sparkle of the stone. if you look closely at marble you see flecks of cristalline embedded into the surface. I was able to achieve this by using an acrylic paint by Golden called Iridescent Pearl. This contains Titanium Dioxide coated Mica particles which glisten in the same way. Mixed in with my other colours I managed to achieve that marbly, stony surface without which the cast would just look like painted plaster. Some grip-fix applied, and the finial was attached in place. When the client walked in and couldn't remember for a moment which side was being restored a warm sense of satisfaction welled up in me. Plaster into marble - alchemy. .. But that's another blog. 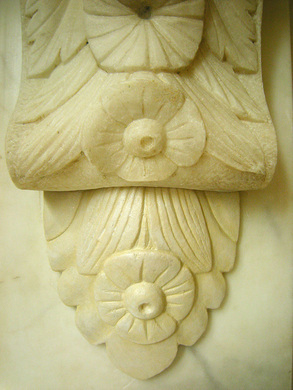
So much can be done with paint and varnish. And financial savings can be made by simulating natural materials by means of colour, texture, finish and, with protective glazes -achieve comparable durability. A recent addition to the DDecoration repertoir is the simulated glass splashback for kitchens. Created on water-resistant MDF my recent client's comment was "I came in and thought it was real glass!". Following my principle that good preparation ensures longevity -as well using water-resistant material, every surface -rear, sides and front is prepared with primer and undercoat to doubly ensure a watertight finish. From there the subtle 'green' hue that is unique to glass is mixed and matched according to the client's wishes. Anything from a pale white-bluish green to a deep aqua can be achieved. But the final application of high gloss varnish is the only way to create that third dimension that gives glass its depth. Up to 10 layers are applied in the studio while the board lies flat, ensuring a generous and uniform coating. The finished panels are then fitted in place with high-bond adhesive and sealed all round with clear silicone sealant. 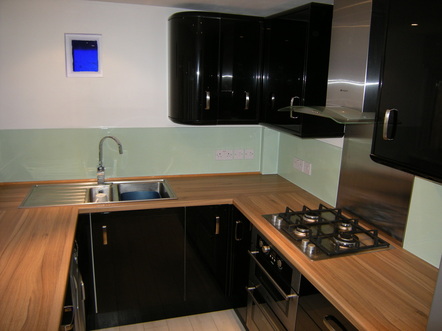 |
AuthorArtist, maker of things. Enjoying the transformation of materials, the magic of paint. Archives
September 2015
Categories |

 RSS Feed